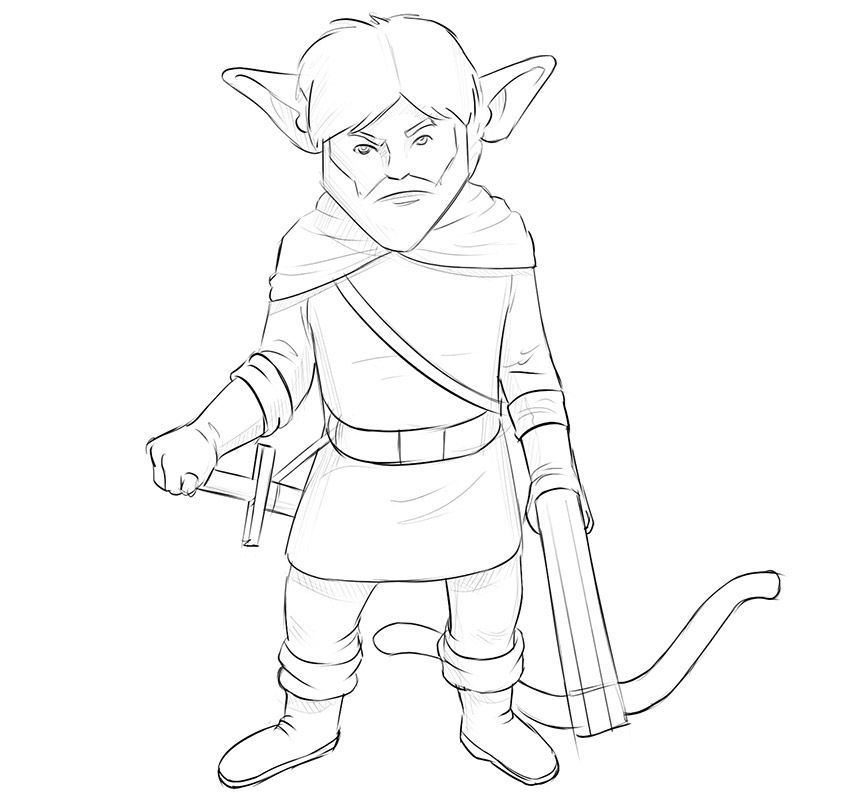
Today we will tell you about how to draw a Gnome from Dungeons & Dragons. This is not the most recognizable type of gnome, however, due to the huge popularity of this universe, many people imagine gnomes that way.
You can follow a strict sequence of steps or use your imagination to create an individual character. It is very likely that you will create a more cool and memorable character than in our tutorial.
STAGE 1
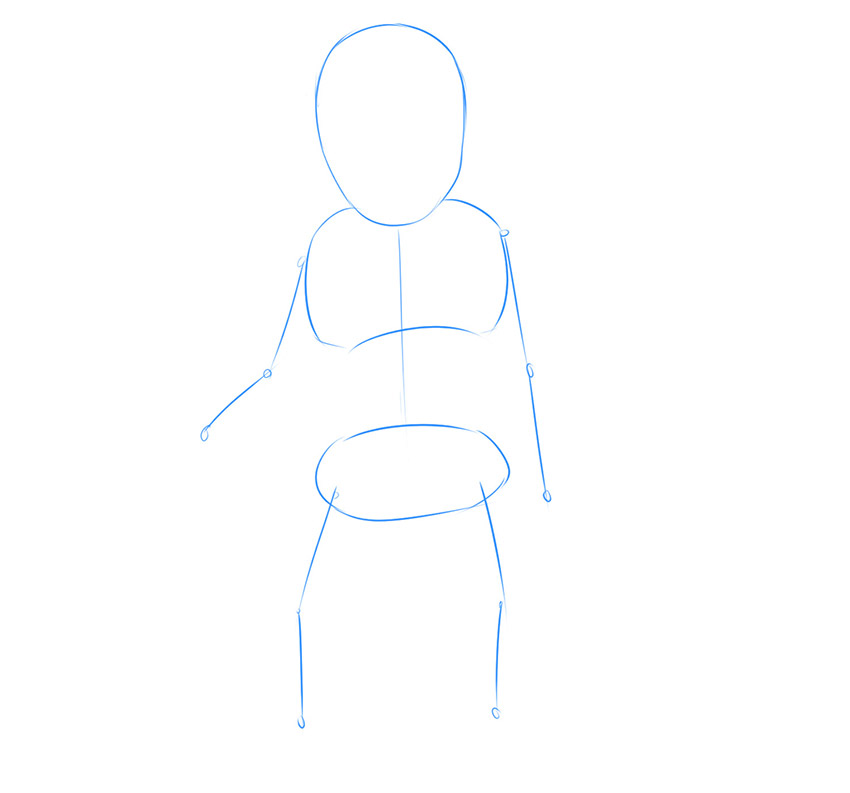
Firstly, draw an approximate figure using circles and sticks. The entire growth of the dwarf is equal to the sum of the lengths of three heads. The neck is missing from this angle.
STAGE 2
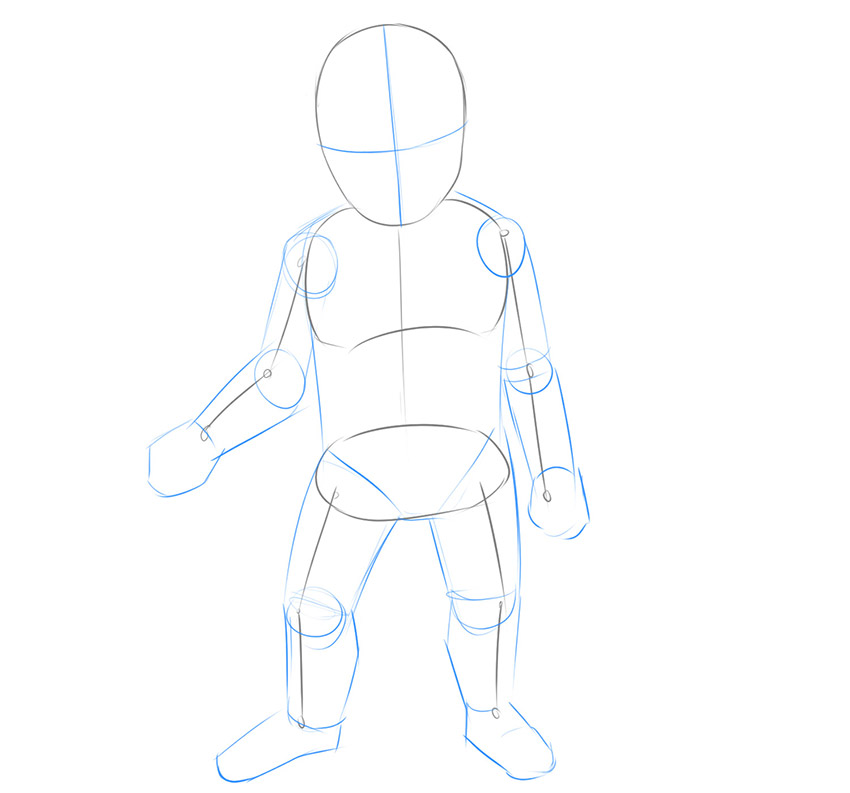
Secondly, draw big circles to represent the joints. Connect these circles to create the outlines of the arms and legs. At the end of this step, draw two crossing lines on the face. The vertical line is the symmetry line and the horizontal line is the eye line.
STAGE 3
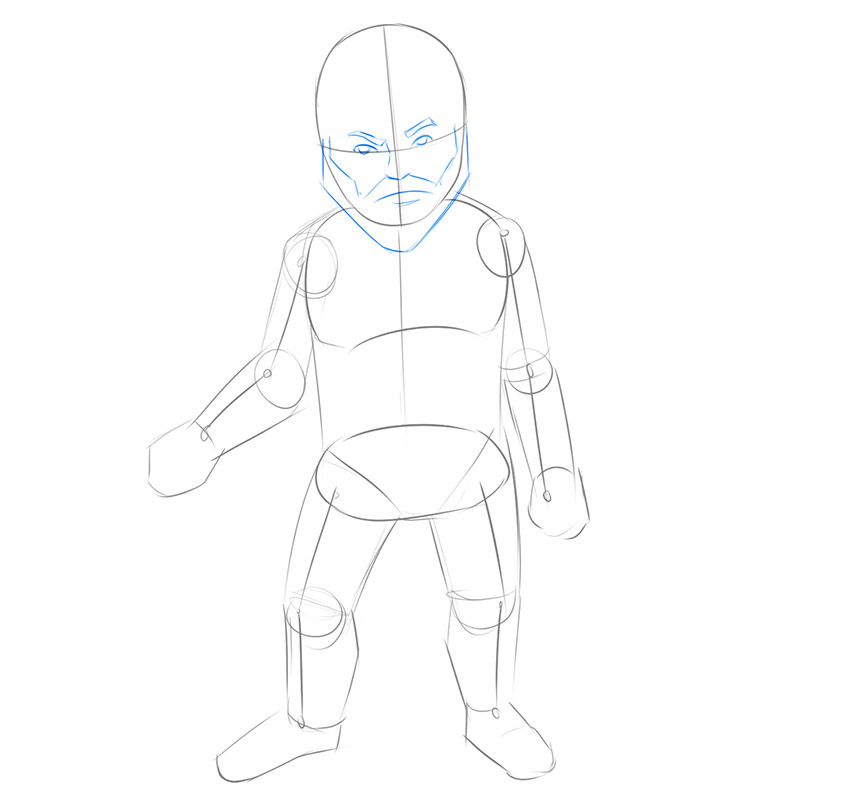
Add facial features. You can choose any shape you like. We decided to draw round eyes, furrowed eyebrows, a large nose, and a noticeable beard.
STAGE 4
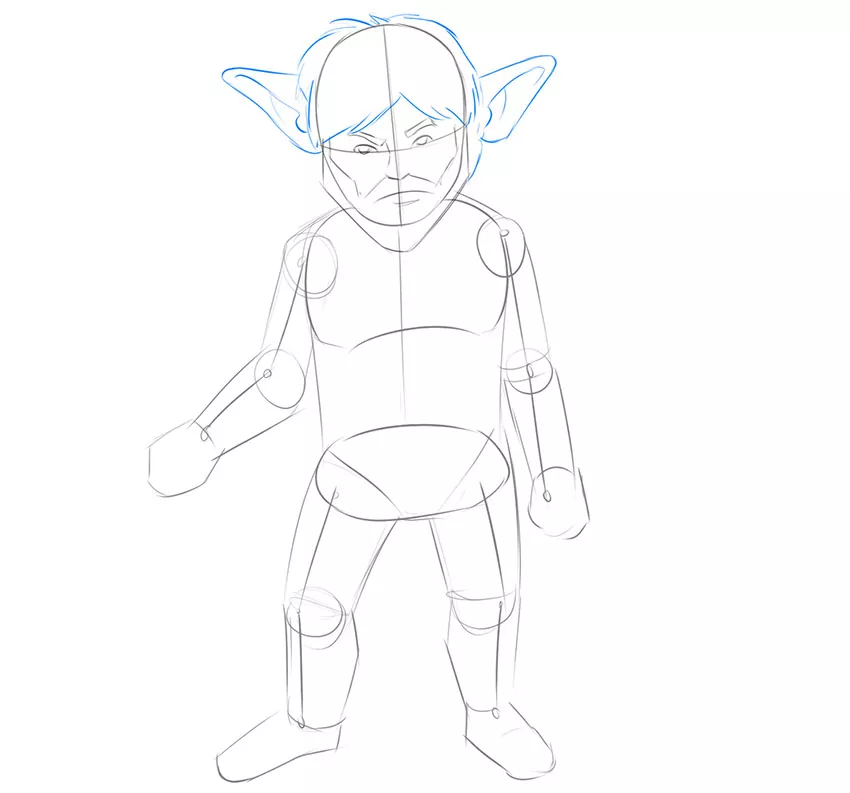
Not all fantasy universes have gnomes with long pointed ears, this is indeed true. However, here we see a gnome with just such an appearance. So, draw long, triangular ears and hair outlines.
STAGE 5
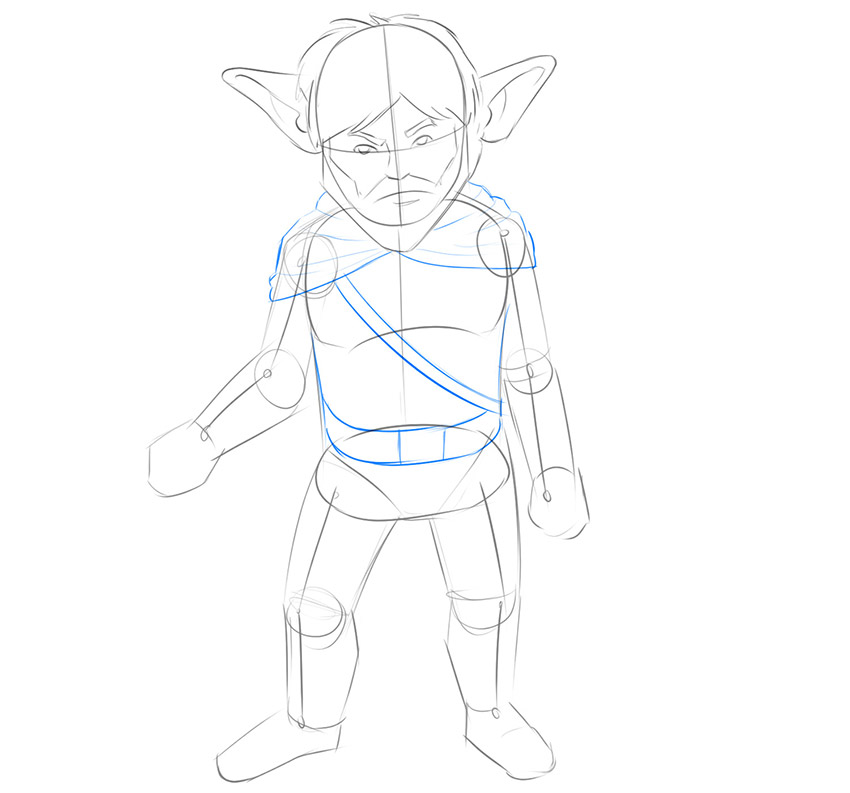
Now work on the contours of the torso of our gnome. Depict a cape on the shoulders, a wide belt at the waist, and a narrow belt that crosses the body obliquely.
STAGE 6
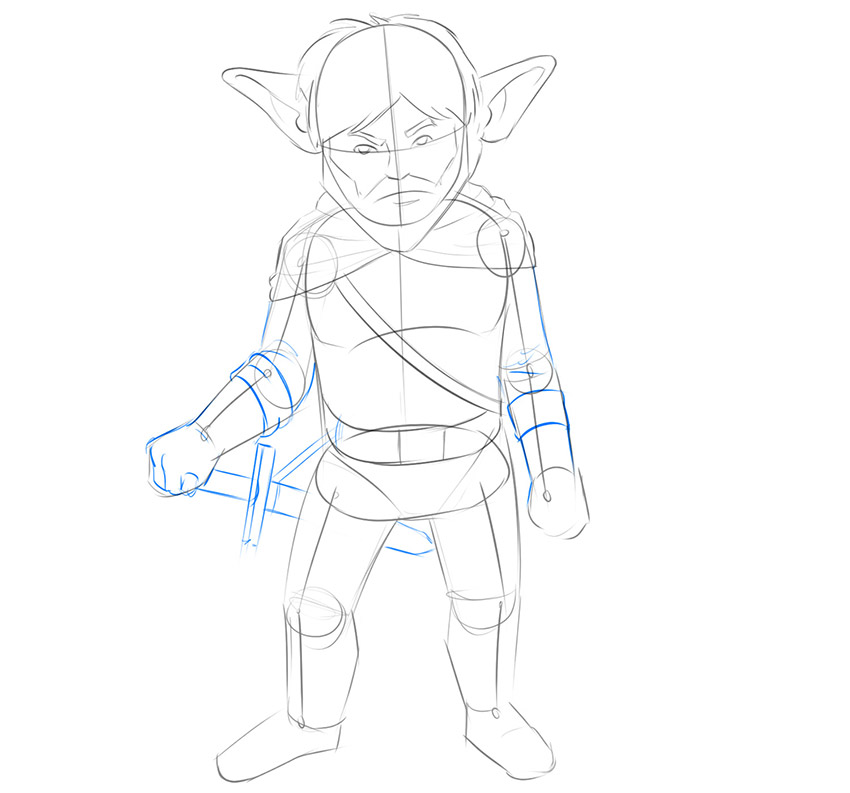
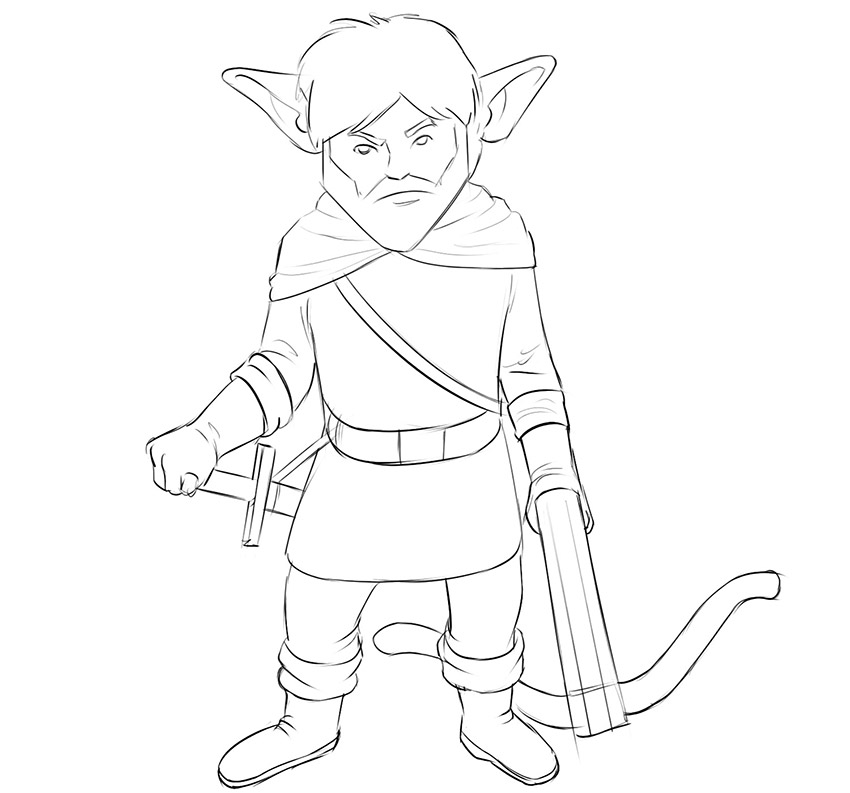
Draw the outlines of the hand that wraps around the hilt of the sword. Add the contours of the wrapped sleeve and some fabric folds. You can also draw a small melee weapon that is fixed in the belt area.
STAGE 7
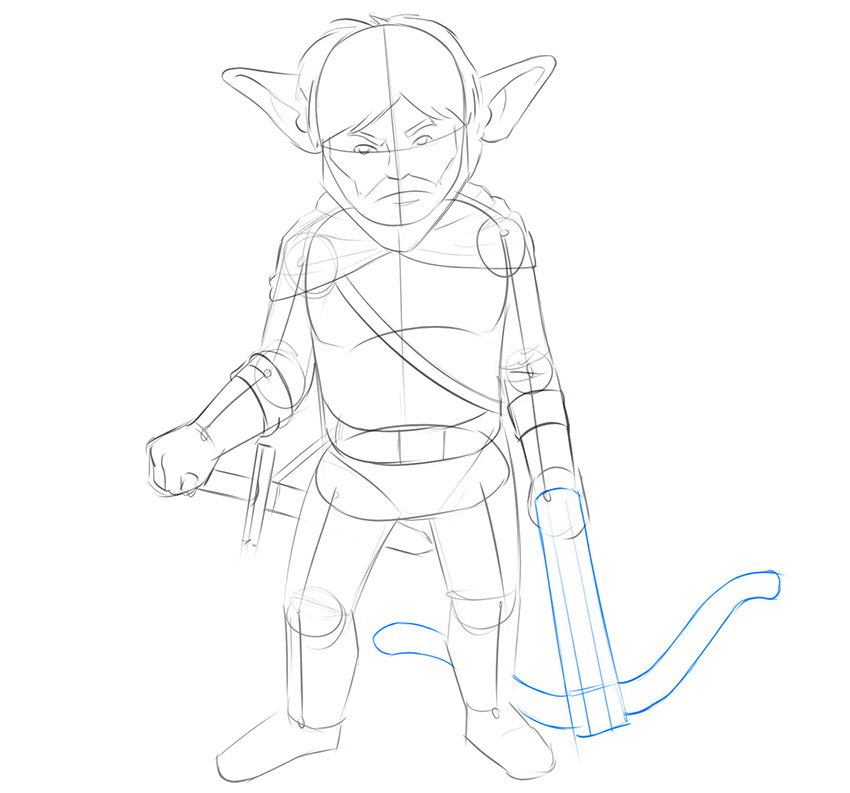
Depict a long, heavy crossbow. Due to the peculiarities of the angle, we cannot see the arm that is covered by the fabric of the sleeve.
STAGE 8
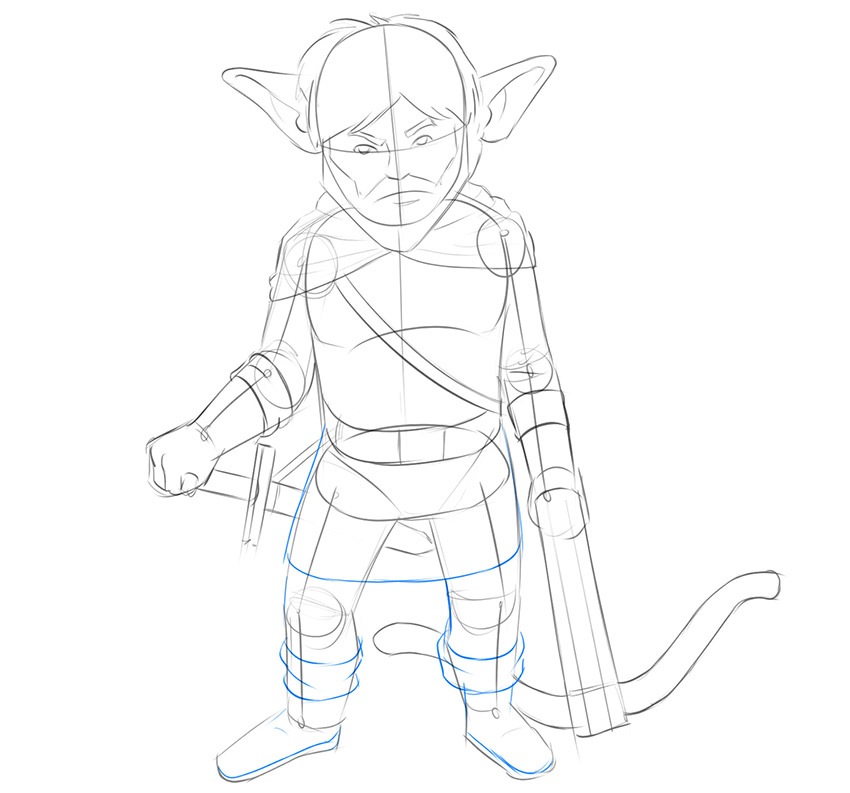
Depict the outlines of the pants and boots of our gnome. Then, add fabric folds to the soles and uppers of the boots.
STAGE 9
Erase extra lines from all parts of our gnome’s body. Add small details like fabric folds. Once again, check the correctness of all shapes and proportions.
STAGE 10
Add small shadows. For maximum convenience, you can first outline the boundaries of the shaded areas and then paint over them with light hatching.

We hope that this was a really useful drawing lesson for you. We look forward to your comments on new topics for lessons. Your opinions help us a lot!
An avid gamer and owner of geek-blog.net, I immerse myself in the world of geek culture, from gaming to comics. Creator of the YouTube channel GameDigger, where I reveal the history of games and create exciting tops.

