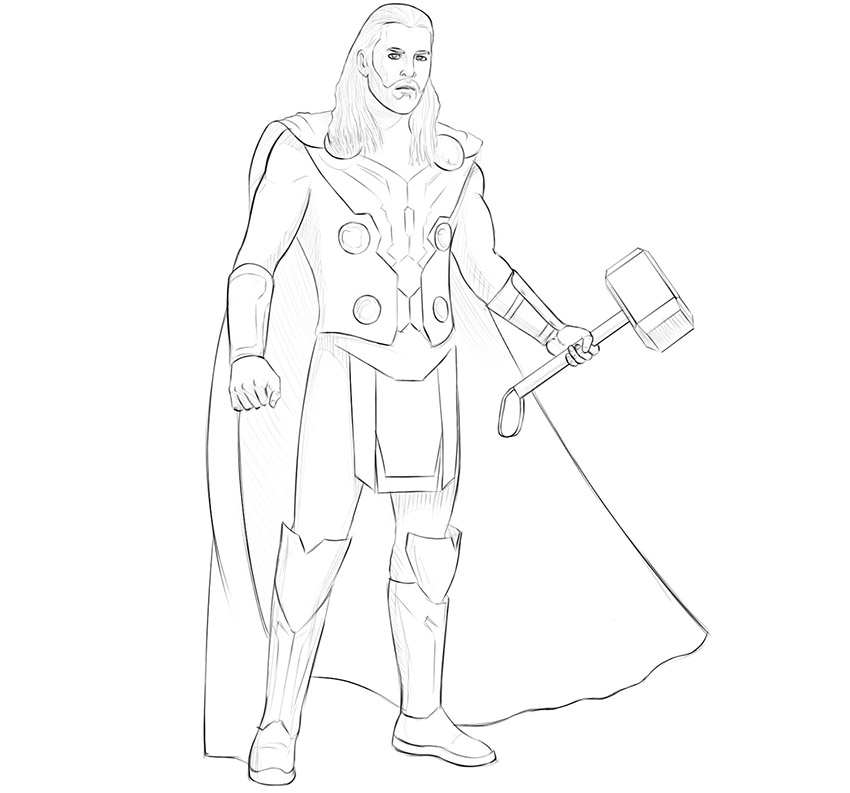
In this drawing guide, we will show you how to draw Thor from Avengers. The modern look of Thor is not much different from the classic version of the comics of the last century. However, Thor’s new image became very popular. That is why we decided to create this guide.
Stage 1
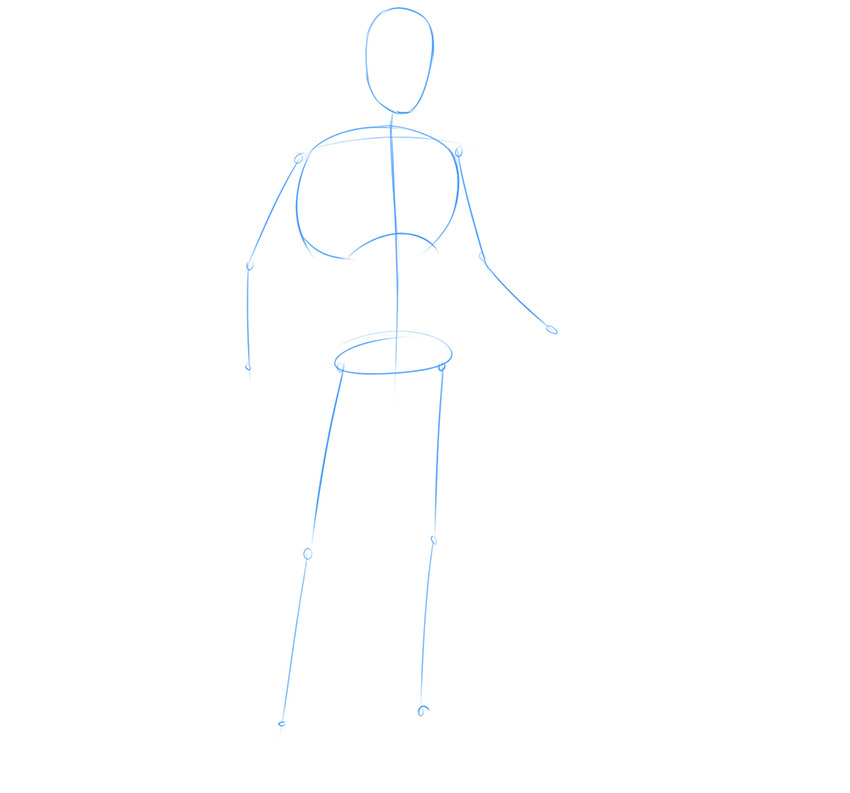
So, we start a guide on how to draw Thor from Avengers. First, we sketch out the figure of our Scandinavian hero using sticks and rounded shapes. We see the figure of a tall, athletic man with broad shoulders and a narrow pelvis. Thor’s height is equal to the sum of the lengths of 7.5 heads The upper limbs are slightly bent at the elbows. The lower limbs are almost completely straight.
Stage 2
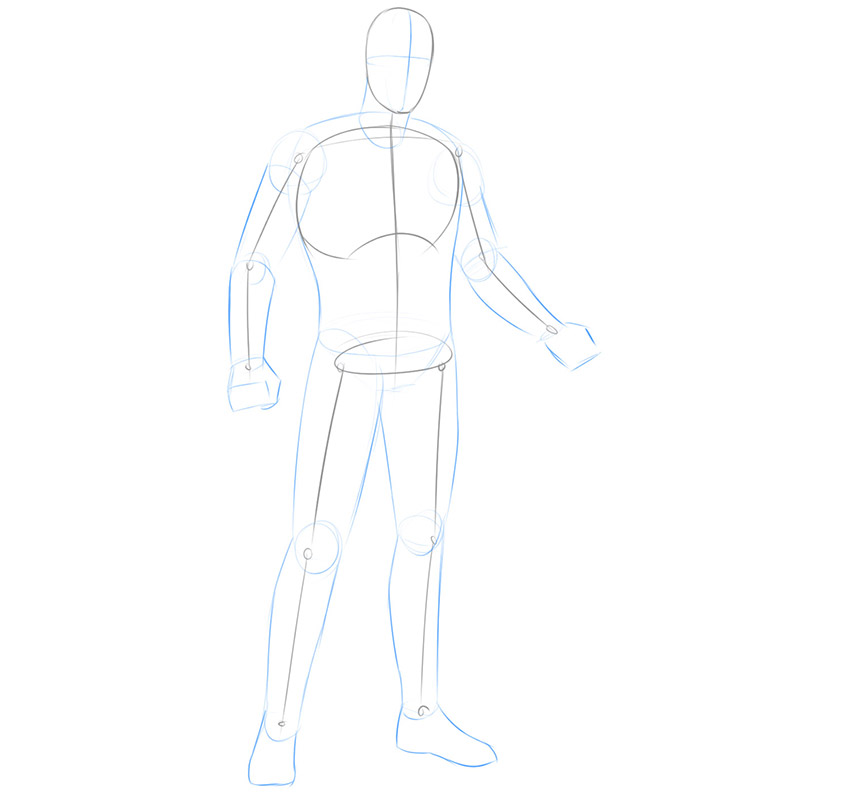
Using cylinders and ovals, outline the contours of Thor’s limbs. These contours form rather broad figures with smooth tapering in the distal direction. Also in this step, we sketch out the intersecting lines that are located inside the face outline. The vertical line indicates the symmetry of the face, and the horizontal line helps to indicate the location of the eyes. Notice that the vertical line is shifted to the side due to the head turn.
Stage 3
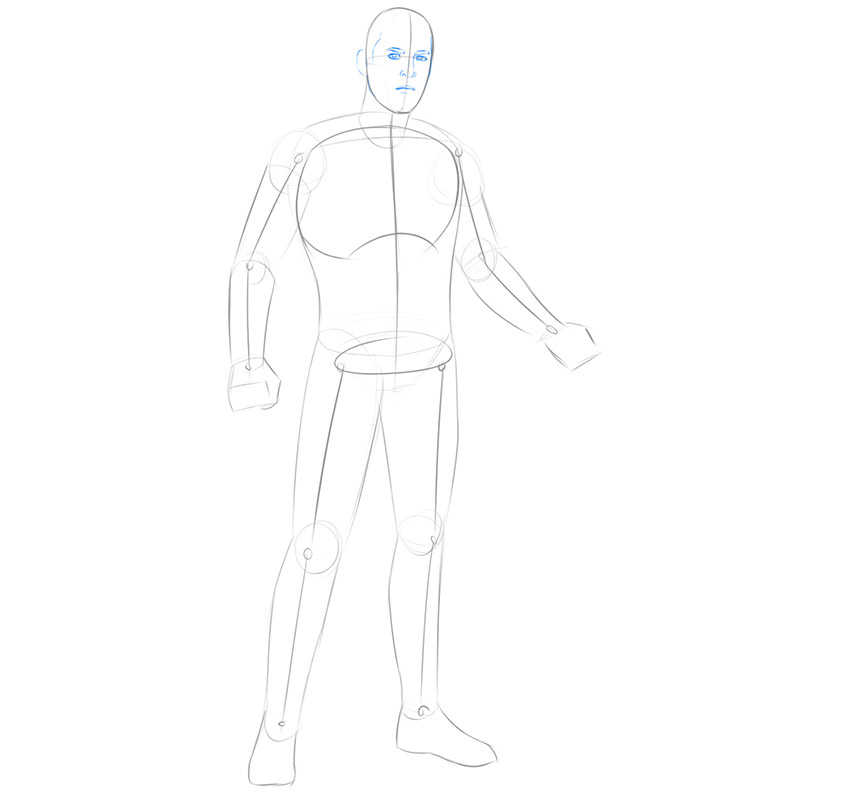
If you drew the correct markup in the previous step, then now you will have no problem. In this step, we will draw the facial features using short conditional lines. Try to avoid unnecessary detail in this step.
Stage 4
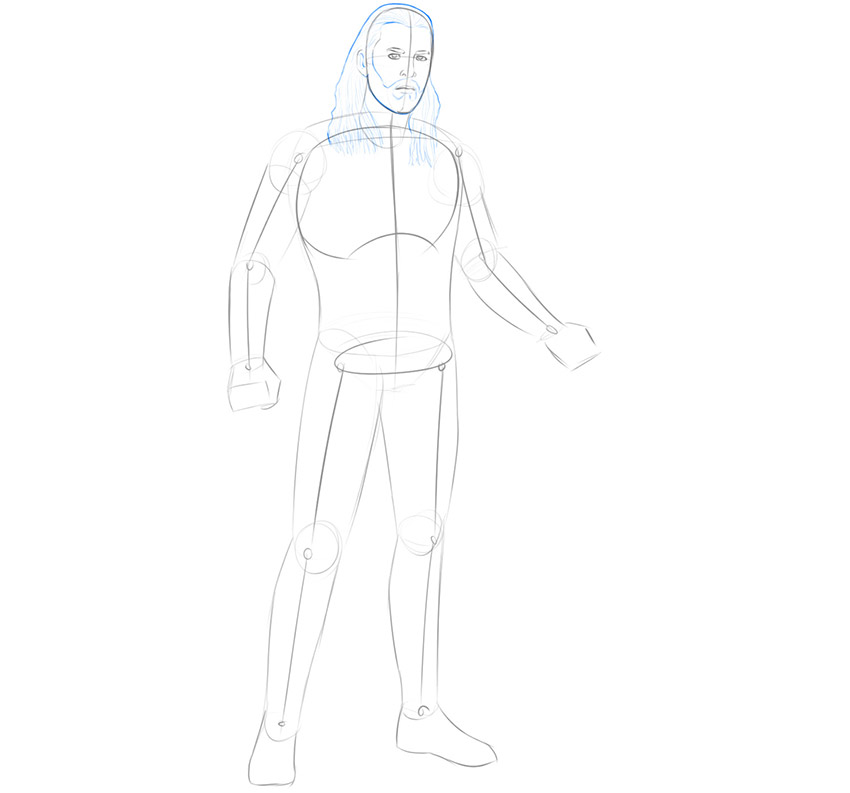
In this step, we will draw the hairstyle and beard of our Scandinavian superhero. As you remember, Thor prefers long hair and a neat beard. The hair should be drawn from the head towards the ends.
Stage 5
In this step, we will outline the outlines of Thor’s armor. Unlike the classic version of the early comics, the modern Thor has very light armor. Let’s depict this with circles and oblique lines.
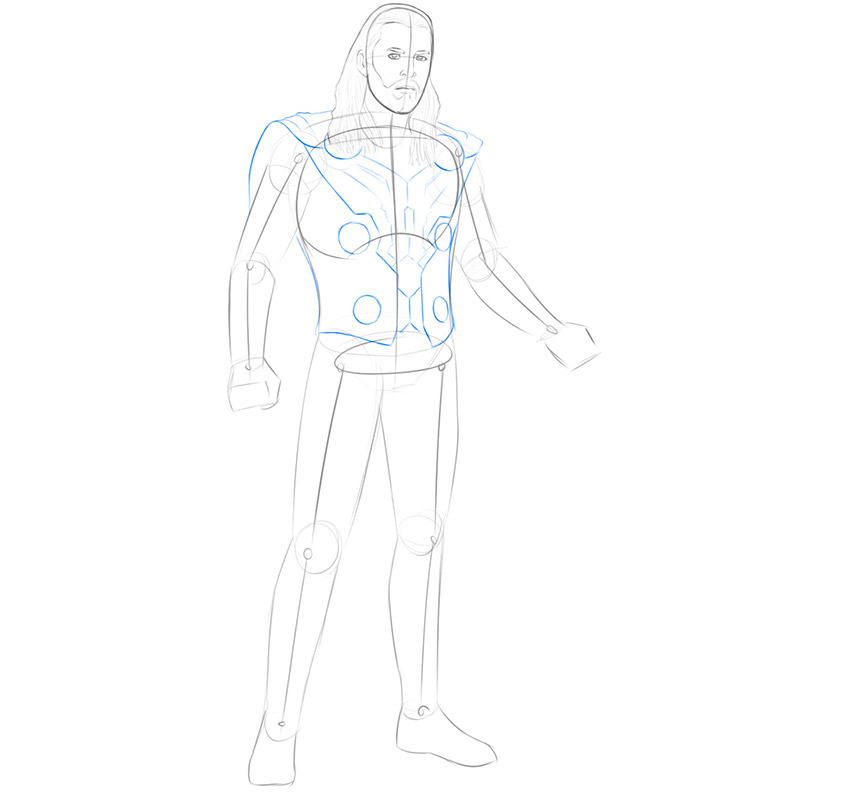
Stage 6
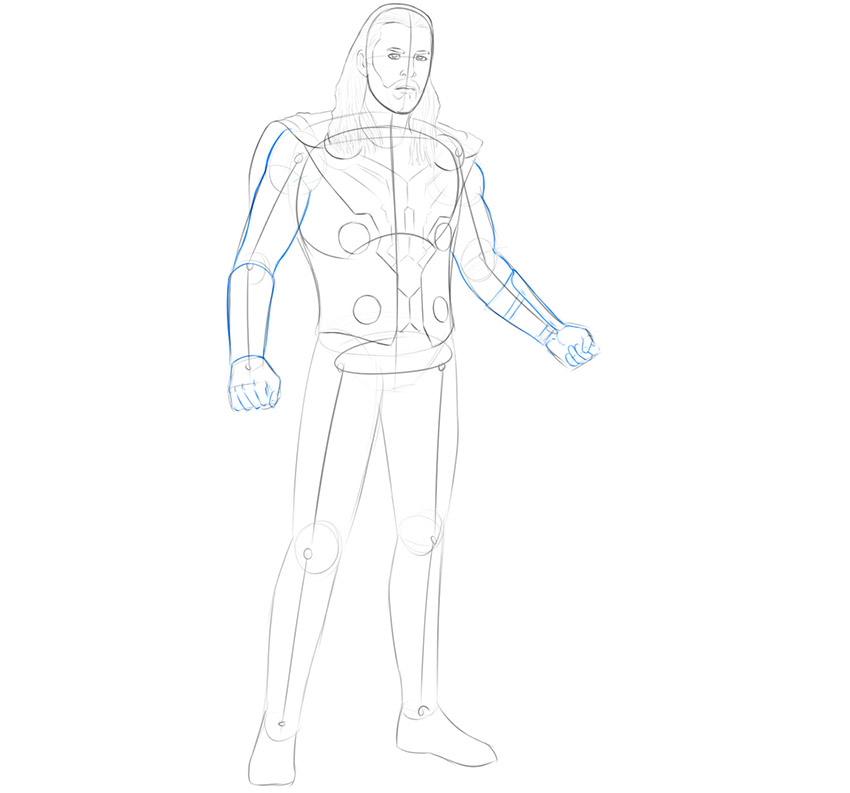
Hands are a rather complex drawing object. Here we see large, prominent shoulders and forearms, as well as fingers that are clenched into fists. Pay attention to the position of the thumb, compare the size and shape of each finger with the previous one. This will make it much easier for you to draw this step.
Stage 7
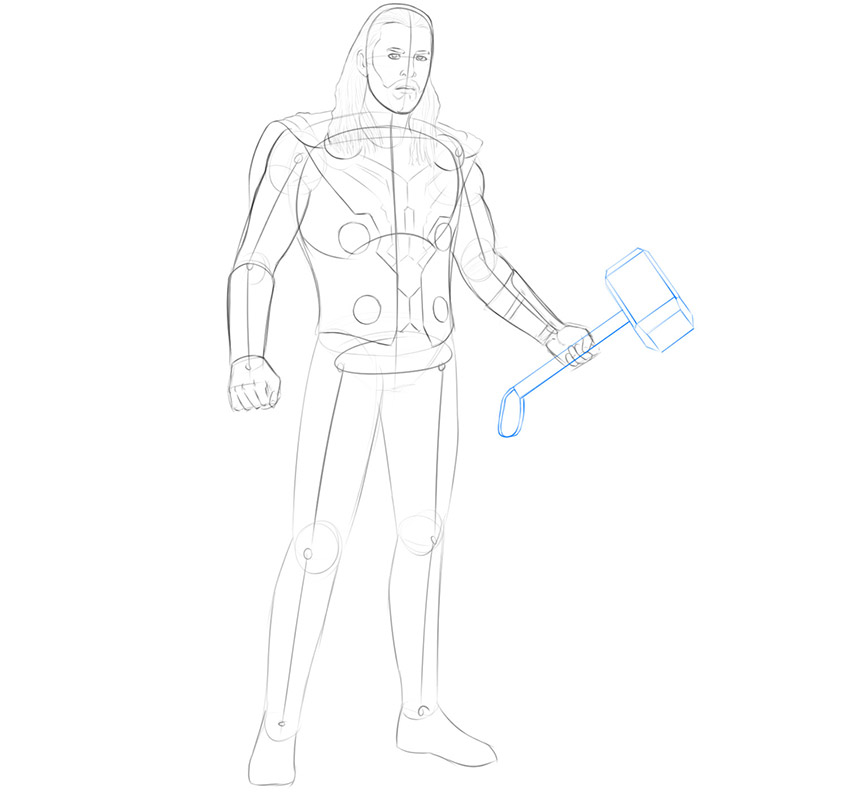
Mjölnir is a weapon of Thor that is often honored with separate storylines. The Mölnir is as important to Thor as the lightsaber is to Luke Skywalker. Let’s draw this heavy, powerful hammer that sits in Thor’s hand.
Stage 8
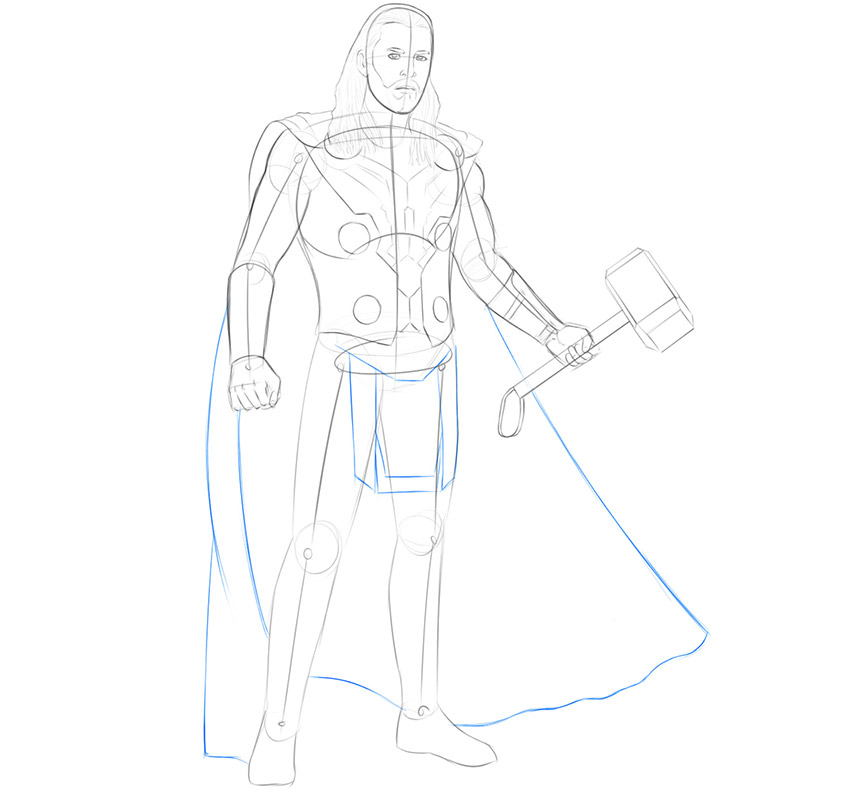
As you know, Thor is the son of the main Scandinavian god. Therefore, he prefers clothing items that emphasize his status. In this step, we will draw a wide robe and a large battle belt.
Stage 9
This is one of the last steps of our guide. Let’s draw the final outlines of the legs and the massive, oversized boots of our incredible superhero. Notice the slight folds in the fabric and the hem that marks the soles.
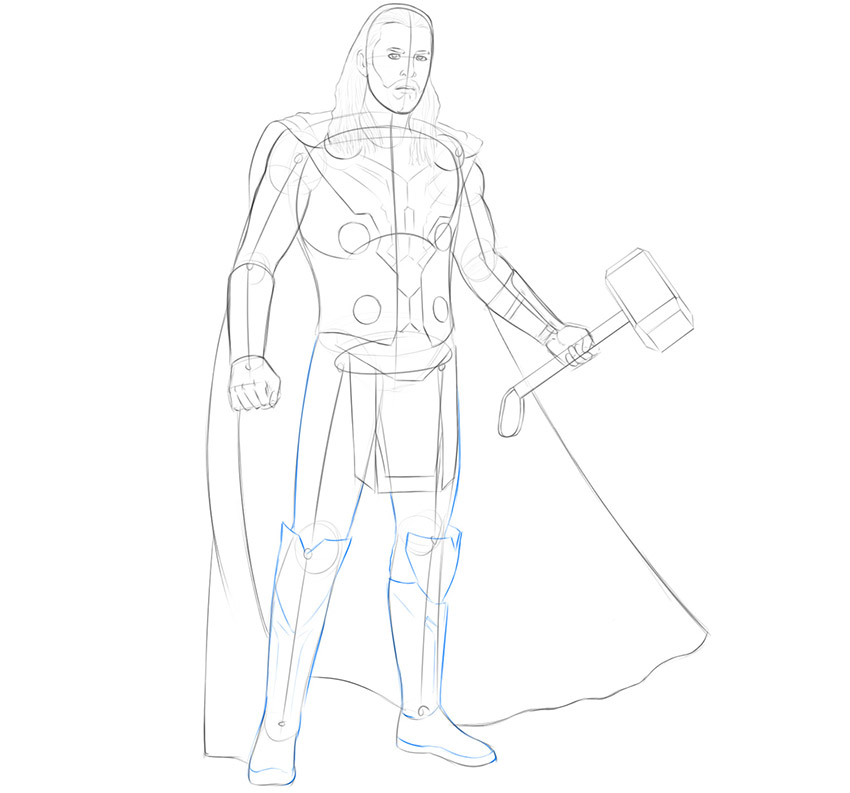
Stage 10
So in this step, we can remove unnecessary guidelines and check the correctness and correctness of the actions of each step. In order to see subtle errors, you can take your drawing and walk up to the mirror with it. In a mirror image, all inaccuracies will be especially noticeable.
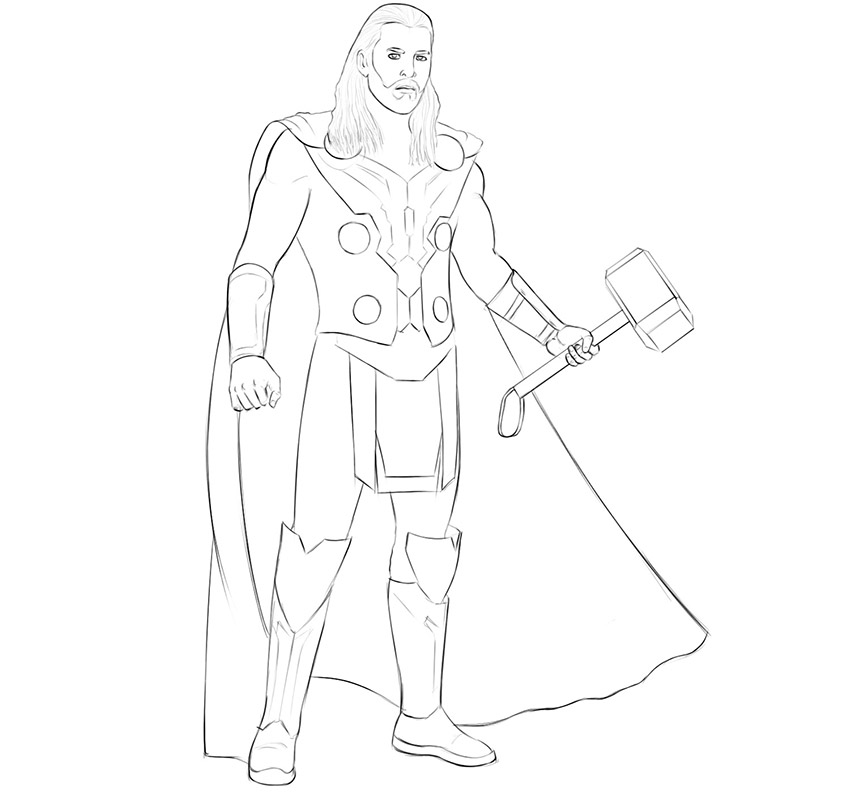
Stage 11
Small shadows will make our drawing more realistic and lively. Let’s draw some light shadows using one layer hatching. For more convenience, you can first sketch out the outlines of the shadows and then paint over them. If you are an aspiring artist, you can skip this step.

We hope this tutorial was really helpful to you. If this is true, write to us in the comments, this is the most important reward for us. We are also waiting for your criticism and your questions about any action from this lesson. We will be happy to help you!
An avid gamer and owner of geek-blog.net, I immerse myself in the world of geek culture, from gaming to comics. Creator of the YouTube channel GameDigger, where I reveal the history of games and create exciting tops.

