Some time ago I bought “WH 40k Know No Fear starter set”, unfortunately, all primaris space marine intercessors from this set look almost the same, so I decided to diversify their party by this guy from “Easy to built: Space marines primaris intercessors” set.
Here I’ll show how easy to paint primaris ultramarine space marine intercessor step-by-step using an only usual brush.
Step 01
Army Painter primers:
- Base Primer Matt Black;
- Base Primer Matt White.
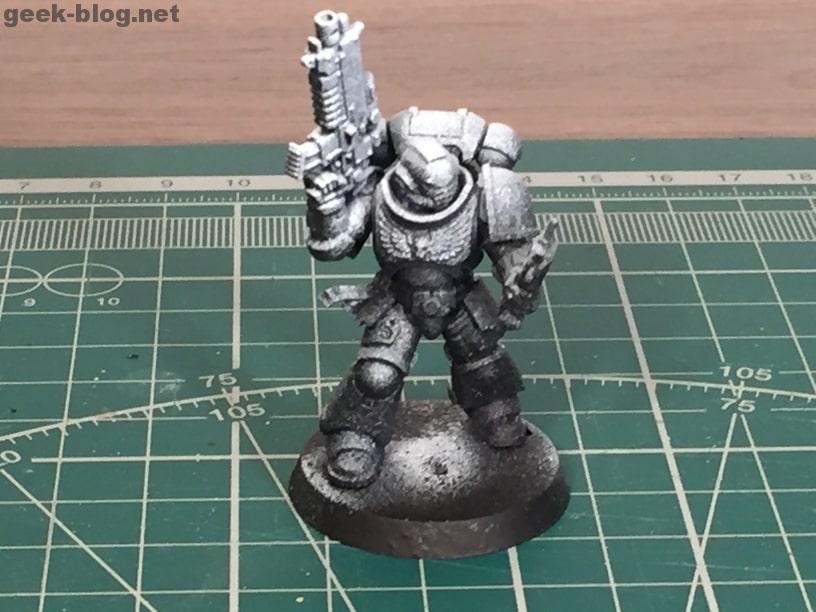
As you can see I’m trying to make shades using black and white primers. Hard to say how good it works with ultramarines because their base color Macragge Blue is pretty dark so even thin layers of base paint overlap this shading effect.
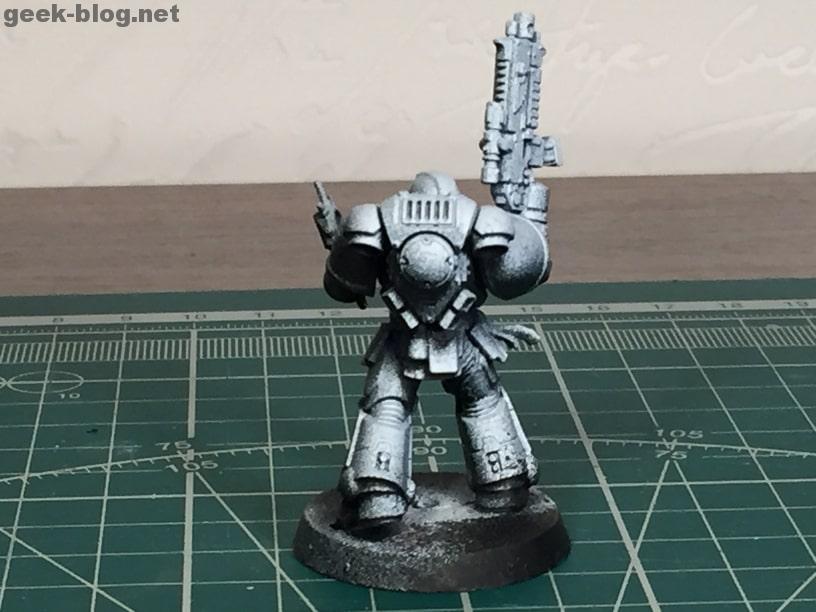
However, most of my miniatures are primed like this one.
Step 02
Citadel base paint:
- Macragge Blue.
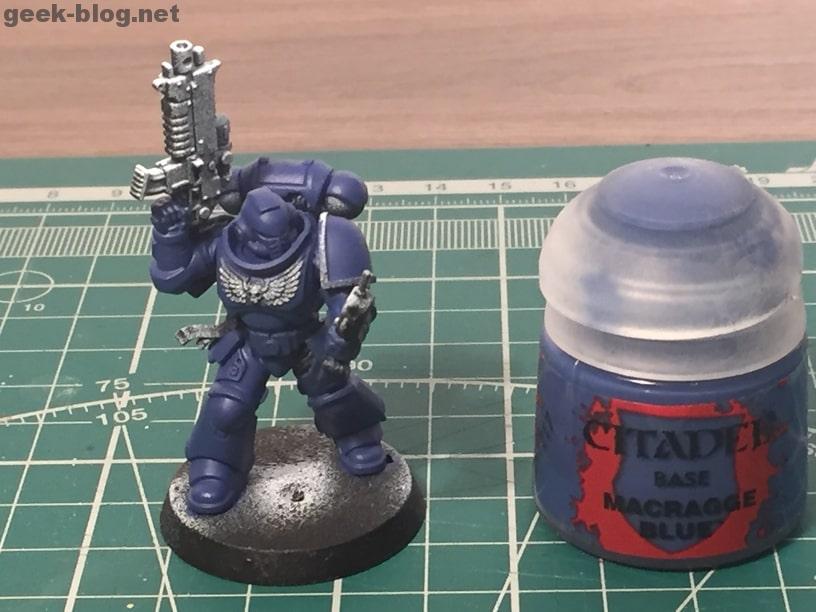
On this step we have to paint only armor, skipping those parts which will be metallic, golden or black. At this stage there is no problem if you stain any other part of the miniature. The main thing is to dilute the paint with water and apply it in several thin layers.
Step 03
Citadel base paint:
- Leadbelcher.
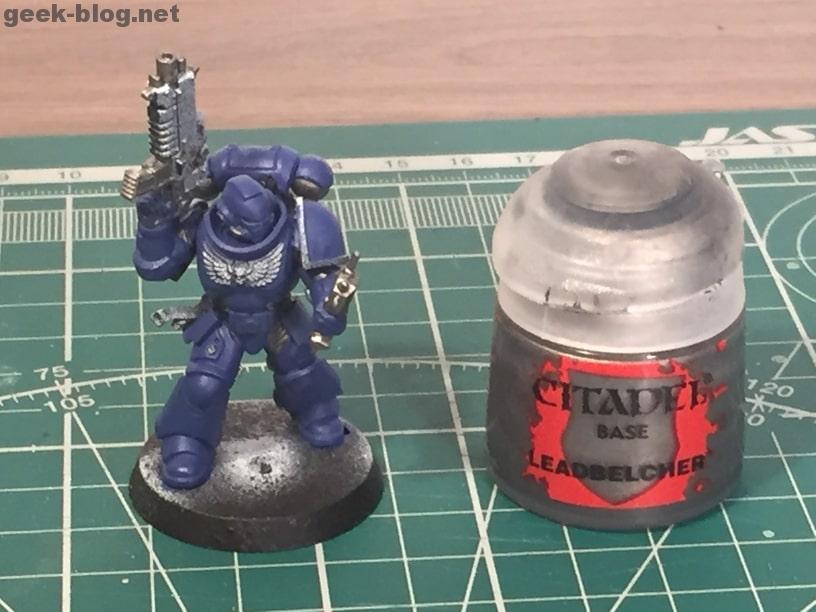
Paint by Leadbelcher those parts of the miniature that you think should be metal. Leadbelcher is good for some parts of backpack, it’s necessary for some parts of the rifle.
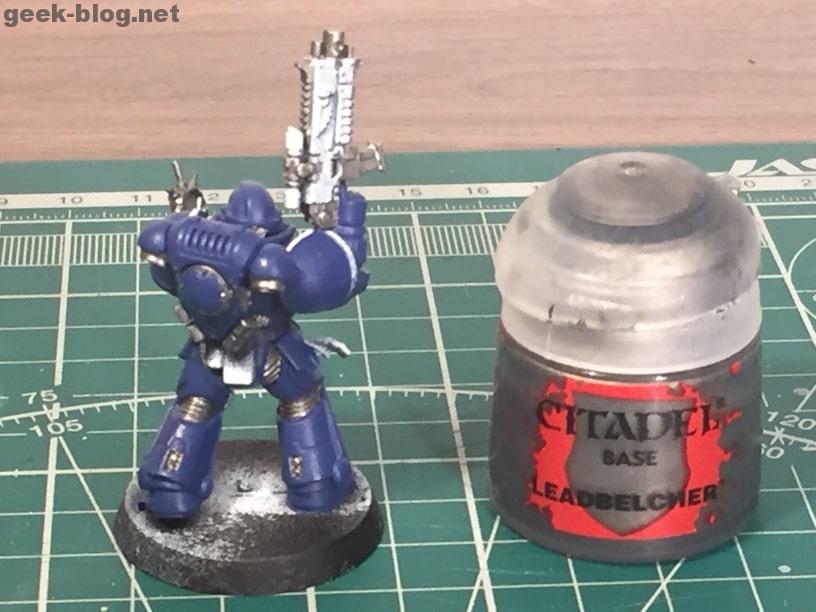
As you can see I use Leadbelcher even for such parts as on the back of the knees. That’s not the common way, more often these parts are painted in black. But I think that such painted space marine looks better, especially after shading.
Step 04
Citadel base paint:
- Abaddon Black.
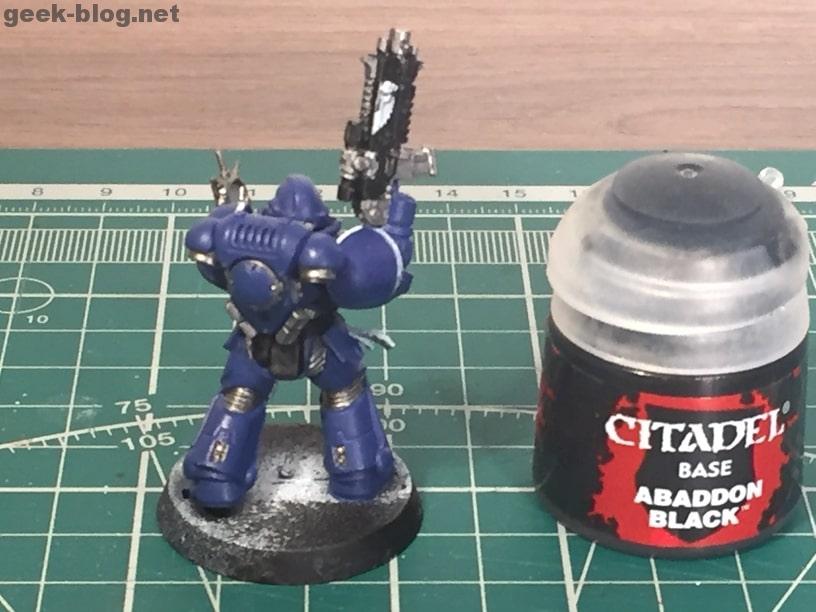
I use Abaddon Black only for ultramarines rifle, belt and belt bags. Easy and fast. Just be careful when painting a belt, do not stain armor.
Step 05
Citadel base paint:
- Retributor Armour.
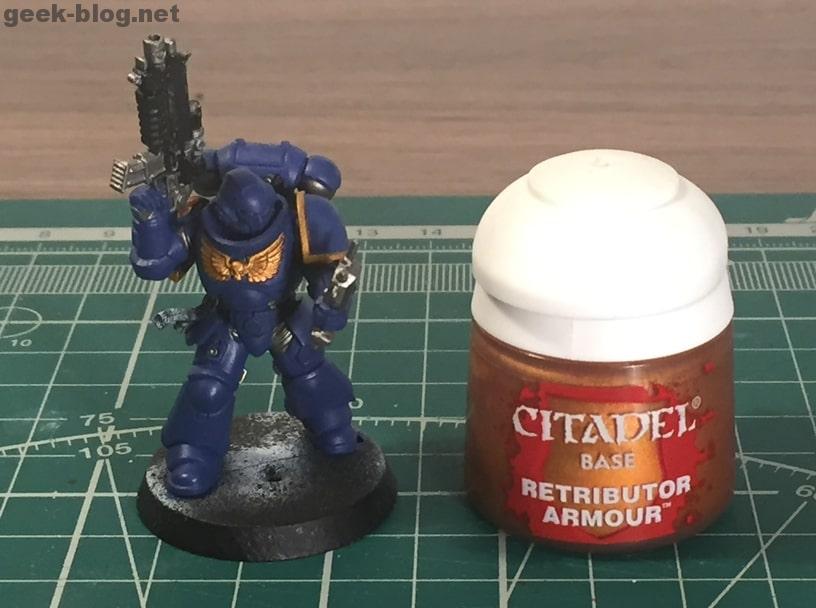
One more easy and fast step. Paint aquila, shoulder pads border and don’t forget about another one aquila on the rifle (sorry, it doesn’t see on this photo, it’s on the other side of the rifle).
Step 06
Citadel base paint:
- Mephiston Red.

Mephiston Red is only for space marines helmet lenses. Please do not rush at this step!
Helpful advice! Using a palette, make sure that the paint is only at the tip of the brush. Do not hurry to apply paint, rotate the figure in your hands until you get a comfortable angle for painting lenses. Begin from the corners of the lenses. It’s not as difficult as it may seem, because lenses deepened in the helmet.
Step 07
Citadel base paint:
- Rakarth Flesh.
Citadel layer paint:
- Pink Horror.

For painting purity seals I use Rakarth Flesh and Pink Horror. In my opinion, it looks good. After shading, it’ll look even better.
Step 08
Citadel shade paint:
- Nuln Oil.

Ok, let’s start to shade our miniature. I use Nuln Oil as the main shade paint for ultramarines. Using Nuln Oil we have to shade metallic parts of the miniature, deepenings on space marine’s armor, I also shade lenses a little. Apply shade paints in small quantities. Firstly check the amount of paint on the brush using the palette.
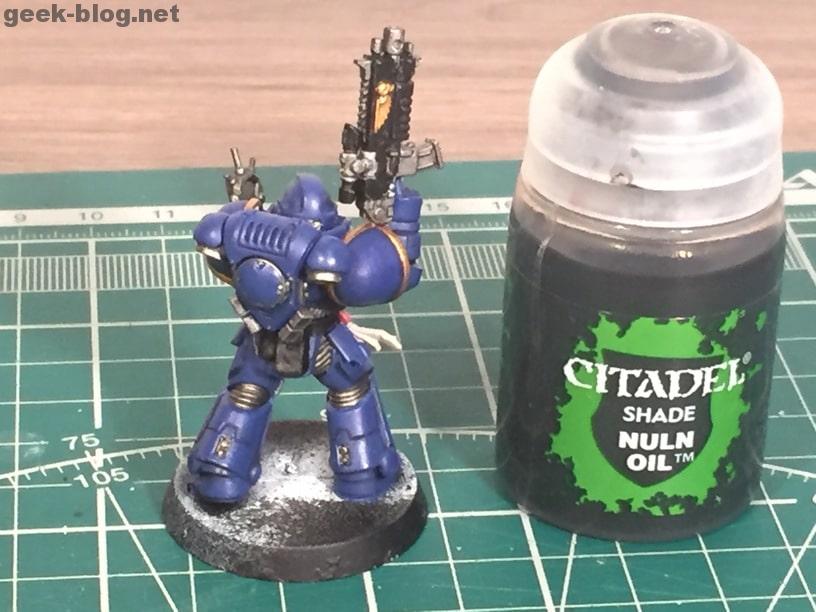
Another way to shade ultramarine’s armor is to use Drakenhof Nightshade. In this case, it’s possible to shade not only deepenings but all blue armor parts.
Step 09
Citadel shade paint:
- Agrax Earthshade.

Well, just paint purity seal Agrax Earthshade, that’s it. By the way, I didn’t shade golden parts of the figure. Games Workshop recommends us to shade golden details using Reikland Fleshshade, I’ve tried, I did not like the result. If you’ll try, don’t forget to highlight golden parts after shading. For highlighting use Retributor Armour again, or try Auric Armour Gold.
Step 10
Citadel layer paint:
- Calgar Blue.
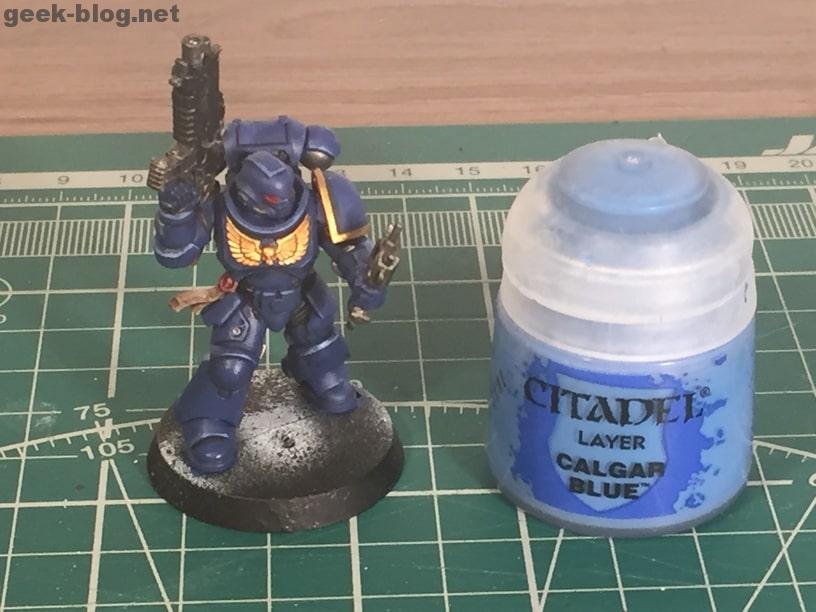
On this step use Calgar Blue for highlighting Macragge Blue painted details. Highlight the top edges of these details. If you want to make them lighter, highlight them again using Fenrisian Grey paint.
Step 11
Citadel base paint:
- Mechanicus Standard Grey.
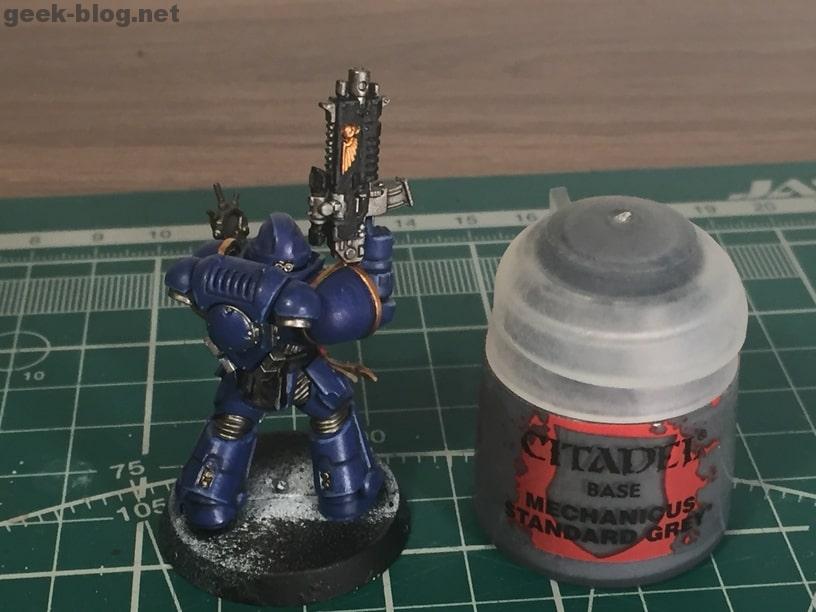
Let’s highlight black parts – top edges of rifle, belt and belt bags. For highlighting black parts of figures people often use Dark Reaper, but for ultramarines, I prefer Mechanicus Standard Grey. This color is warmer than Dark Reaper.
Step 12
Citadel layer paint:
- Ironbreaker.
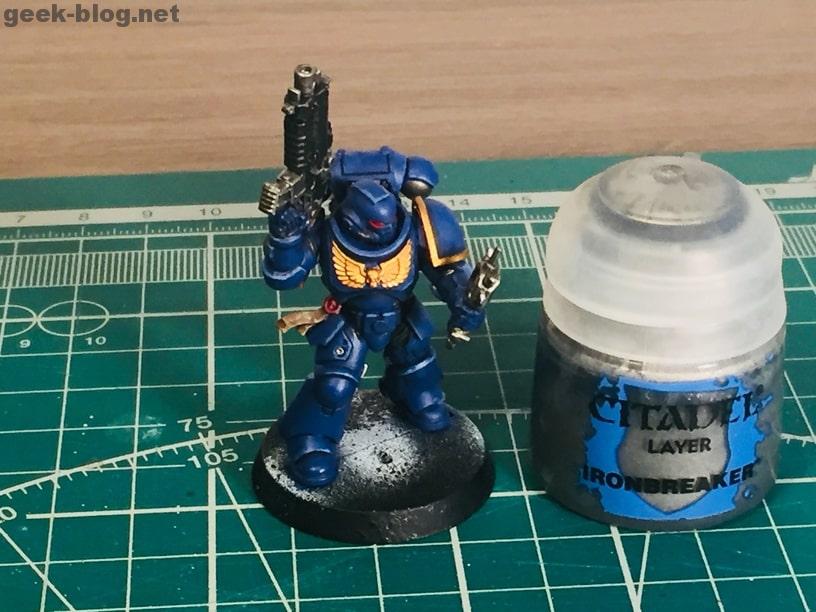
For highlighting metallic parts GW recommends us Stormhost Silver, I haven’t ever used this paint and can’t say anything about it. I always used Ironbreaker for highlighting metallic parts and it worked well!
Step 13
Citadel base paint:
- Caledor Sky.
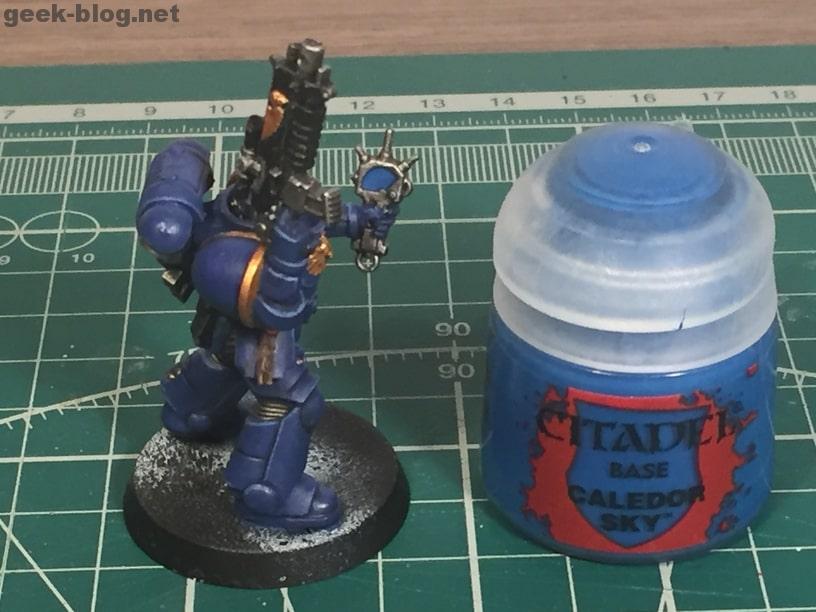
For the device display, I used Caledor Sky as a base color. Right now I’m looking at this photo and thinking that it was better to stop here. But I didn’t, so I’ll show the result of the next steps.
Step 14
Citadel edge paint:
- Baharroth Blue.
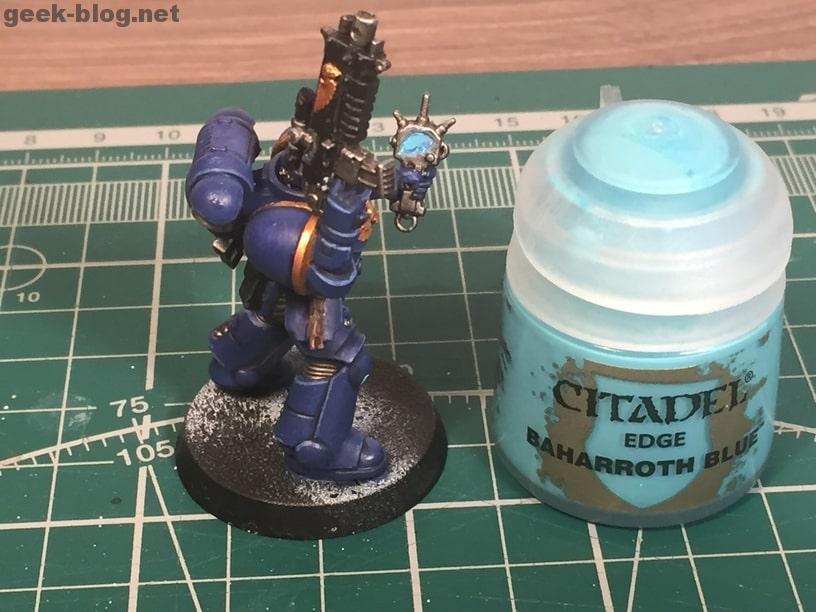
Yeah, I’ve tried to imitate light from the display, but “these aren’t the droids I was looking for”…
Step 15
Citadel layer paint:
- White Scar.
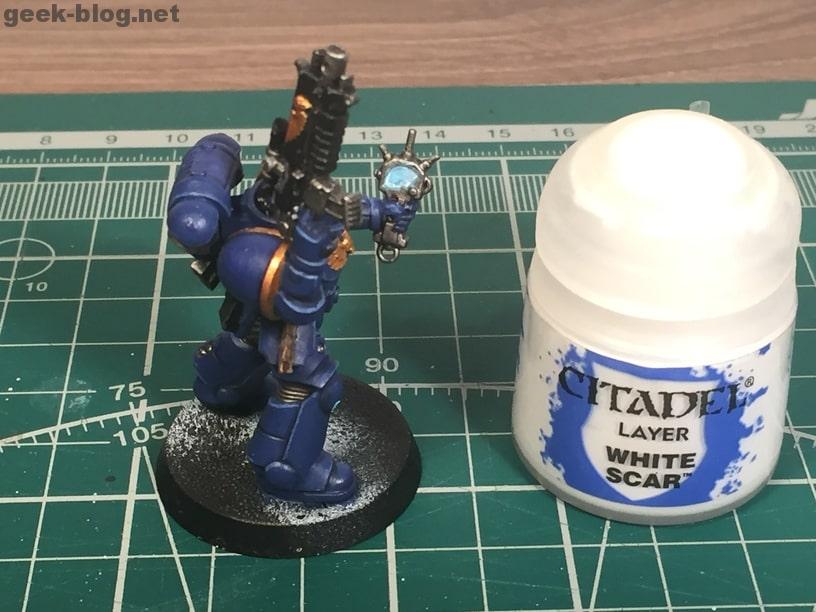
And these are the continue of the saga about the failed imitation of devise display’s light. Scene 2. White Scar paint starring.
Step 16
Citadel base paint:
- Steel Legion Drab.
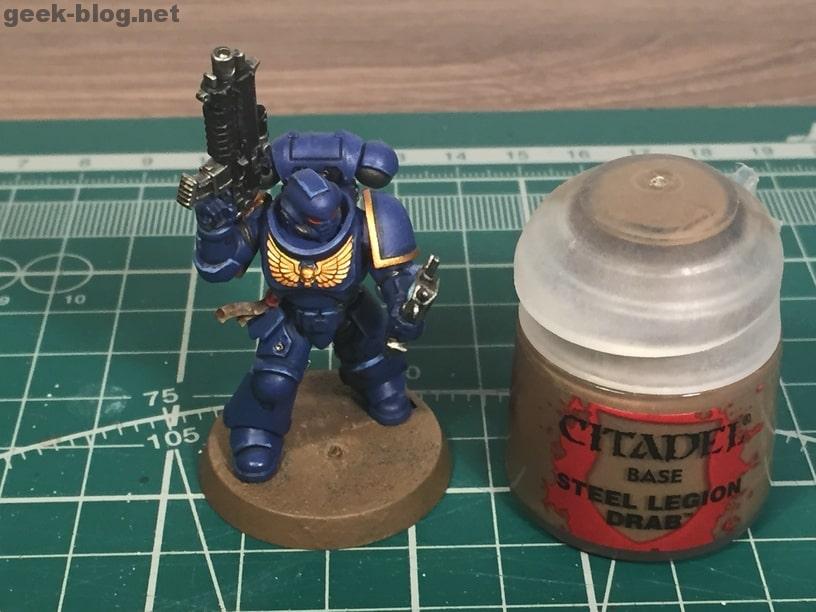
Finally! The step that will correct the situation. The painted base always make figure look much better! Here we just paint base Steel Legion Drab. As you see near from figure’s left foot there is a hole in the base. I filled in this hole by a piece of plastic and glued it.
Step 17
Citadel texture paint:
- Agrellan Earth.
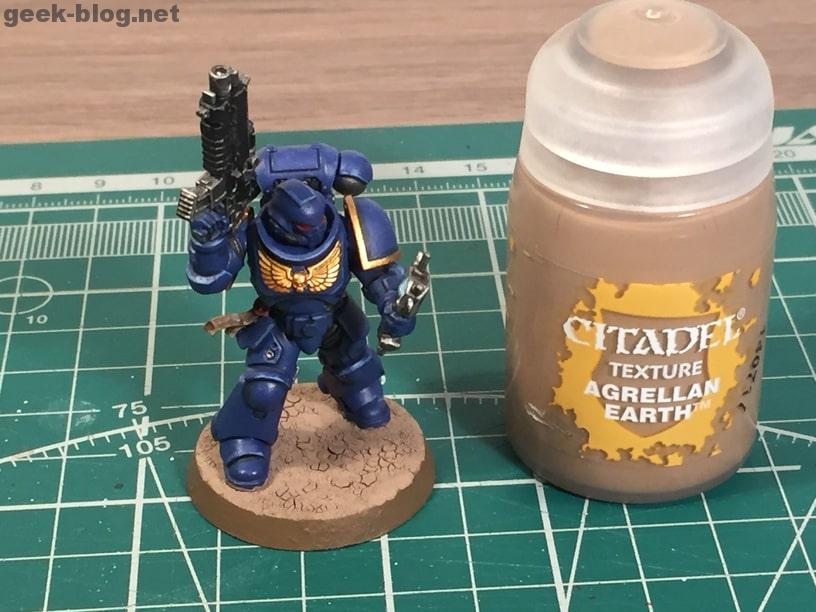
Agrellan Earth is very good for base decoring. By the way, I finally fix this hole in the base using this texture paint.
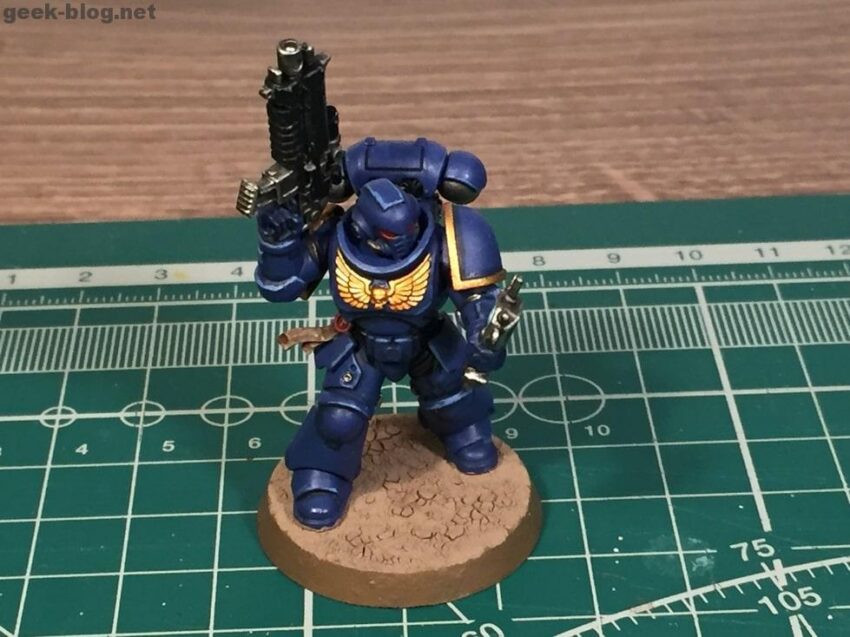
Result
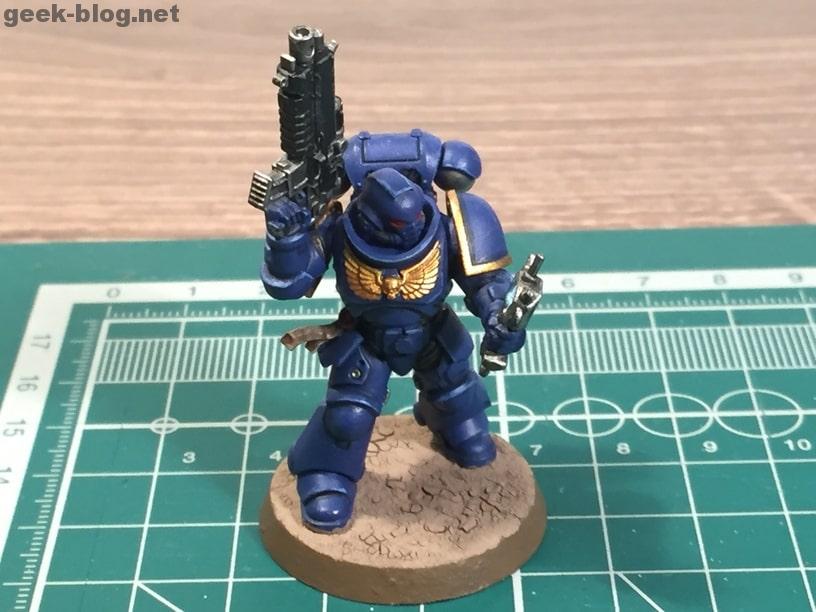
I think this result is good enough for playing. It’s easy to paint space marines this way and it doesn’t take a lot of time.
Your game table will look much better with such painted ultramarines than with unpainted grey or blue plastic.
Paint your miniatures, guys, don’t afraid to spoil them. You will succeed, just have a little practice!
An avid gamer and owner of geek-blog.net, I immerse myself in the world of geek culture, from gaming to comics. Creator of the YouTube channel GameDigger, where I reveal the history of games and create exciting tops.


